
Checking the voltage of an outlet is a crucial skill for anyone dealing with electrical systems. Whether you’re troubleshooting an electrical issue, ensuring proper voltage for sensitive electronics, or conducting routine maintenance, knowing how to check voltage safely and accurately is essential. This guide will walk you through the tools and equipment needed, safety precautions, step-by-step instructions, understanding voltage readings, troubleshooting, and common mistakes to avoid. In this article, you will learn about How to Check Voltage on an Outlet.
How to Check Voltage on an Outlet
Here are a few ways to Check Voltage on an Outlet
Tools and Equipment
To check the voltage on an outlet, you’ll need the following tools and equipment:
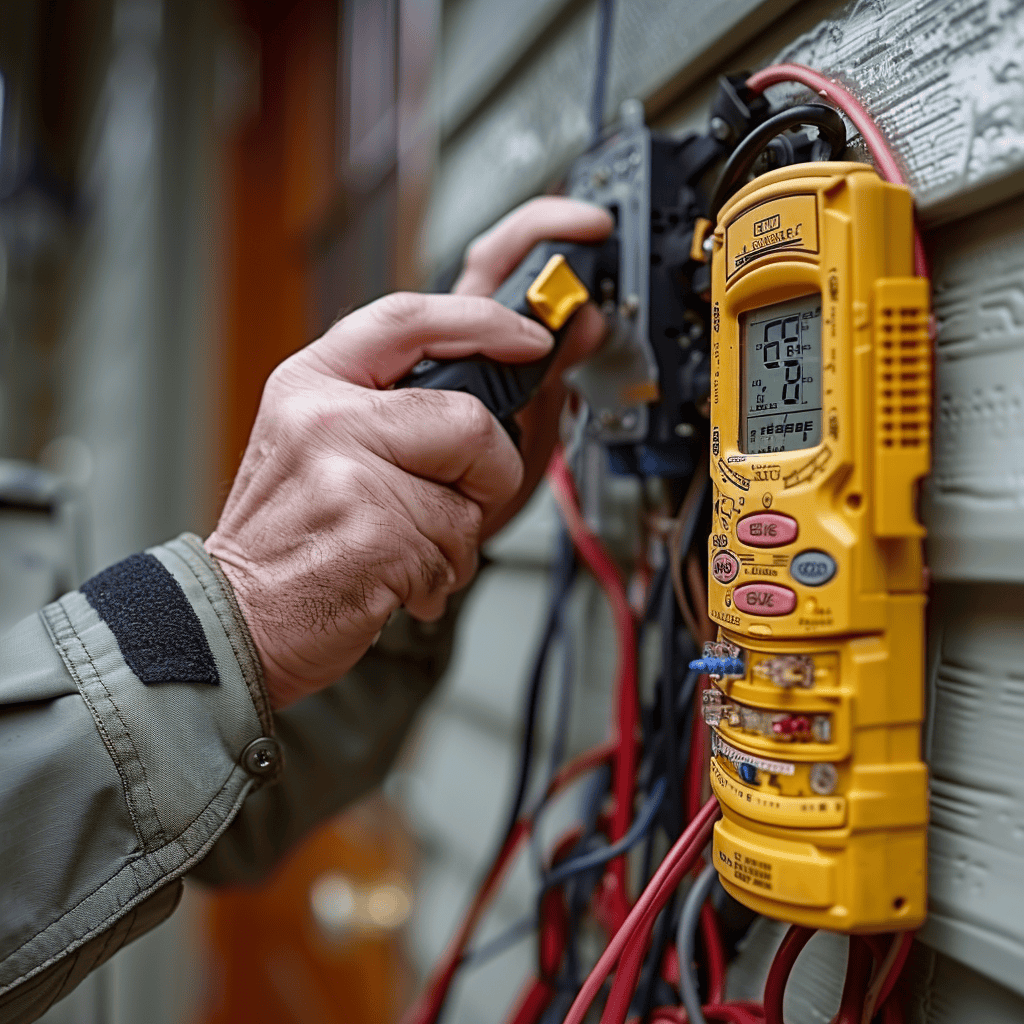
Multimeter
A multimeter is an essential tool for measuring electrical properties such as voltage, current, and resistance.
- Types: Multimeters come in two main types: analog and digital. Analog multimeters have a needle that moves across a scale, while digital multimeters provide readings on a digital display. Digital multimeters are generally preferred for their accuracy and ease of use.
- Features: Modern multimeters often include features such as auto-ranging, which automatically selects the correct range for the measurement, and hold functions, which allow you to freeze the reading on the display. Some multimeters also include additional functions for measuring temperature, capacitance, and frequency.
- Settings for Voltage: Ensure the multimeter is set to AC voltage (V~) to measure voltage. The range should be appropriate for your testing outlet—typically 120V or 240V. For most household outlets in North America, the 200V setting is suitable.

Voltage Tester
Voltage testers are simpler than multimeters and are used to quickly determine if voltage is present.
- Non-contact Testers: These devices detect voltage without direct contact with wires, providing a safe way to check for the presence of voltage. Simply bring the tester near the outlet or wire, and it will indicate if voltage is present.
- Pen Testers: These are compact, pen-like devices that can be easily carried in a pocket. They are used for quick checks to see if an outlet or wire is live.
Outlet Tester
Outlet testers are specifically designed to check the wiring of an outlet.
- Usage: Plug the tester into the outlet, and it will indicate the wiring status.
- Interpreting Results: Most outlet testers use a series of indicator lights to show if the wiring is correct or if there are common issues, such as reversed polarity or an open ground.
- Additional Features: Some advanced models include GFCI test functions to check ground fault circuit interrupters, which are critical for safety in wet areas like bathrooms and kitchens.
Safety Gear
Safety gear is essential when working with electricity to prevent injuries.
- Insulated Gloves: These gloves protect your hands from electrical shock. They are made from non-conductive materials and should always be worn when working with electrical systems.
- Safety Goggles: Goggles protect your eyes from potential sparks or debris that could occur during testing.
- Footwear: Non-conductive shoes help prevent electrical grounding, reducing the risk of electric shock.
Safety Precautions
Safety is paramount when working with electricity. Follow these precautions to ensure a safe testing environment:
Turning Off Power
Before beginning any electrical work, it’s essential to ensure the power is off to avoid the risk of electric shock.
- Main Breaker: Turn off the main breaker to cut power to the entire house. This ensures that no electricity is flowing to any outlets or appliances.
- Specific Circuit Breaker: If you only need to work on a specific outlet or circuit, turn off the breaker for that particular circuit. This allows other parts of the house to remain powered.
Testing Environment
Creating a safe testing environment is crucial to prevent accidents.
- Dry Hands: Ensure your hands are dry to prevent conductivity, as moisture can increase the risk of electrical shock.
- Stable Footing: To avoid slips and falls, stand on a stable, non-conductive surface, such as a rubber mat or a dry wooden floor.
- No Conductive Materials Nearby: Remove any conductive items, such as metal tools or jewelry, from the work area to minimize the risk of accidental shocks.
Using Safety Gear
Protective gear is vital when working with electricity.
- Insulated Gloves and Goggles: Always wear insulated gloves to protect your hands from electrical shocks and goggles to shield your eyes from sparks and debris.
Proper Handling of Tools
Handling tools correctly helps prevent accidents and ensures accurate readings.
- Multimeter and Testers: Use tools according to the manufacturer’s instructions to avoid short circuits and other hazards. Always check that the tools are in good working condition before use.
Step-by-Step Instructions
Follow these detailed steps to check the voltage on an outlet:
Preparing the Tools
Before testing, ensure all your tools are ready and working well.
- Check Multimeter Batteries: Ensure the multimeter is powered and functional by checking the batteries. A low battery can lead to inaccurate readings.
- Set Multimeter to AC Voltage: Select the appropriate range for the outlet (typically 120V or 240V). For most household outlets, a setting of 200V AC is appropriate.

Turning Off Power
Ensure the power is off before beginning any electrical work.
- Verify Power is Off: Turn off the circuit breaker for the outlet you are testing to ensure safety before beginning. Use a non-contact voltage tester to confirm that the power is indeed off.
Connecting Multimeter Leads
Proper connection of the multimeter leads is essential for accurate readings.
- Insert Black Lead into Common Jack: This is typically labeled as COM on the multimeter. The black lead is the ground or negative.
- Insert Red Lead into Voltage Jack: Usually marked with a V for voltage. The red lead is the positive or live lead.
Testing the Outlet
Carefully follow these steps to test the outlet.
- Insert Leads into Outlet Slots: Place the black probe into the neutral slot (the larger slot) and the red probe into the hot slot (the smaller slot). Ensure you do not touch the metal parts of the probes to avoid electric shock.
- Read the Display: The multimeter will display the voltage present in the outlet. For a standard 120V outlet, the reading should be between 110-125V.
Interpreting Results
Understanding the multimeter’s display is crucial for accurate diagnosis.
- Expected Voltage Range: For standard residential outlets in North America, expect a reading between 110-125V. For high-voltage outlets, expect 220-240V. Any significant deviation from these ranges indicates a potential issue.
Double-Checking
Confirm your results for accuracy and safety.
- Repeat the Test: To ensure accuracy, repeat the test to confirm consistent results. If the readings vary, check the connections and the condition of the outlet.
Understanding Voltage Readings
Interpreting the readings from your multimeter is crucial to understanding the state of your outlet:
Normal Voltage Range
Know what to expect for standard outlets.
- Typical Residential Outlets: Should read between 110-125V in North America, and 220-240V in many other countries. Readings within these ranges indicate that the outlet is functioning properly.
Reading the Multimeter
Familiarize yourself with the multimeter’s display.
- AC Voltage Readings: Ensure the multimeter is stable and within the expected range. A digital display will provide a precise number, while an analog display requires careful interpretation of the needle position.
- Digital vs. Analog Displays: Digital displays are easier to read and more accurate. Analog displays can be more difficult to interpret and are prone to human error.
Interpreting Results
Determine the significance of your readings.
- Normal vs. Abnormal Readings:
- Normal Readings: Within the expected voltage range. This indicates that the outlet is functioning correctly.
- Abnormal Readings: Significantly higher or lower readings indicate potential issues such as faulty wiring, loose connections, or problems with the power supply.
- Implications of Readings: High or low readings can indicate wiring problems that may need to be addressed. Consistently low readings might suggest a problem with the supply voltage, while high readings could indicate an issue with the circuit breaker or a wiring fault.
Documentation
Keep a record of your findings for future reference.
- Recording Readings: Note the voltages for each outlet tested. This can help track changes over time and identify recurring issues.
- Discrepancies: Document any abnormalities for future reference or further investigation. This information can be useful if you need to consult a professional electrician.
Troubleshooting
If you encounter issues while testing, use these troubleshooting tips:
No Voltage Reading
If the multimeter shows no reading, check the following:
- Check Breaker: Ensure the breaker isn’t tripped. Reset it if necessary and try the test again.
- Multimeter Functionality: Confirm the multimeter is working correctly. Test it on a known live circuit to verify its functionality.
Low Voltage Reading
Low voltage can indicate several potential problems:
- Possible Causes: Wiring issues, poor connections, or a faulty outlet.
- Steps to Resolve: Inspect wiring and check connections for tightness and integrity. Replace any damaged wires or components.
Fluctuating Readings
Fluctuating voltage readings can indicate an unstable connection:
- Potential Issues: Loose wires, a faulty outlet, or problems with the power supply.
- Solutions: Tighten connections and replace the outlet if necessary. If the problem persists, consult a professional electrician to inspect the circuit.
Safety Check
Ensure all components are in good working condition.
- Ensuring Integrity: Ensure the outlet and wiring are in good condition. Look for signs of wear, damage, or corrosion.
- When to Call a Professional: If issues persist or if you’re unsure about safety, consult a professional electrician. It’s better to be safe than sorry.
Common Mistakes to Avoid
Avoid these common mistakes to ensure accurate and safe testing:
Incorrect Multimeter Settings
Using the wrong settings can lead to inaccurate readings.
- Ensure Correct Settings: Always set the multimeter to measure AC voltage before testing. Double-check the settings to avoid mistakes.
Not Turning Off Power
Testing live circuits without proper precautions can be extremely dangerous.
- Risks: Testing live circuits without turning off the power can lead to electric shock or damage to the multimeter. Always verify that the power is off before starting.
Improper Lead Placement
Incorrect placement of the multimeter leads can result in inaccurate readings or damage.
- Correct Placement: Leads must be properly inserted into the outlet slots. Ensure the black lead is in the neutral slot and the red lead is in the hot slot.
Ignoring Safety Gear
Neglecting to use safety gear can lead to injuries.
- Importance: Always use insulated gloves and goggles to protect yourself. Safety gear is essential for preventing injuries and ensuring safe operation.
By following this comprehensive guide, you can safely and effectively check the voltage on an outlet, ensuring you are well-prepared and informed throughout the process. Proper use of tools, adherence to safety precautions, and accurate interpretation of results will help maintain a safe and functional electrical system in your home or workplace.