Finding a short circuit in house wiring can be daunting, but it’s essential for maintaining a safe and functional electrical system. This article explains how to Find a Short in House Wiring, troubleshoot, and fix short circuits in your home wiring.
Identifying Symptoms
Common Indicators
Short circuits often present themselves through several telltale signs. One of the most common indicators is the frequent tripping of circuit breakers. When a circuit breaker trips often, it suggests that the electrical system is trying to prevent an overload or short circuit by shutting off the flow of electricity. Blown fuses are similar indicators; they function to protect the circuit by breaking the electrical connection when there’s an excessive flow of current.
Flickering lights can also signal a short circuit. This happens because the electrical connection is unstable, causing the lights to dim or flicker intermittently. Additionally, burning smells emanating from outlets or switches are a critical warning sign. This smell often results from overheating due to the increased current flow caused by a short circuit, which can lead to insulation melting around the wires.
Specific Signs
In addition to general symptoms, there are specific signs that can help pinpoint a short circuit. Discolored or charred outlets are strong indicators of electrical issues. These visual cues often result from the heat generated by a short circuit, causing the outlet material to burn or discolor. Buzzing sounds from switches are another specific sign. When a switch is making unusual noises, it suggests that there might be loose connections or that the current is arcing within the switch, both of which can be caused by a short circuit.

Finally, sudden power outages in certain areas of the home, especially when they are localized, can suggest that a short circuit is affecting that particular circuit. This often happens when the circuit is interrupted abruptly due to a short, causing a localized blackout.
Safety Precautions
Power Off
Always turn off the main power supply before inspecting or working on any wiring. This step is non-negotiable and crucial for safety. Working on live wires can lead to severe electrical shocks or even fires. By turning off the main power, you eliminate the risk of accidental electrocution. It’s a good practice to use a non-contact voltage tester to ensure the power is indeed off before starting your work.
Protective Gear
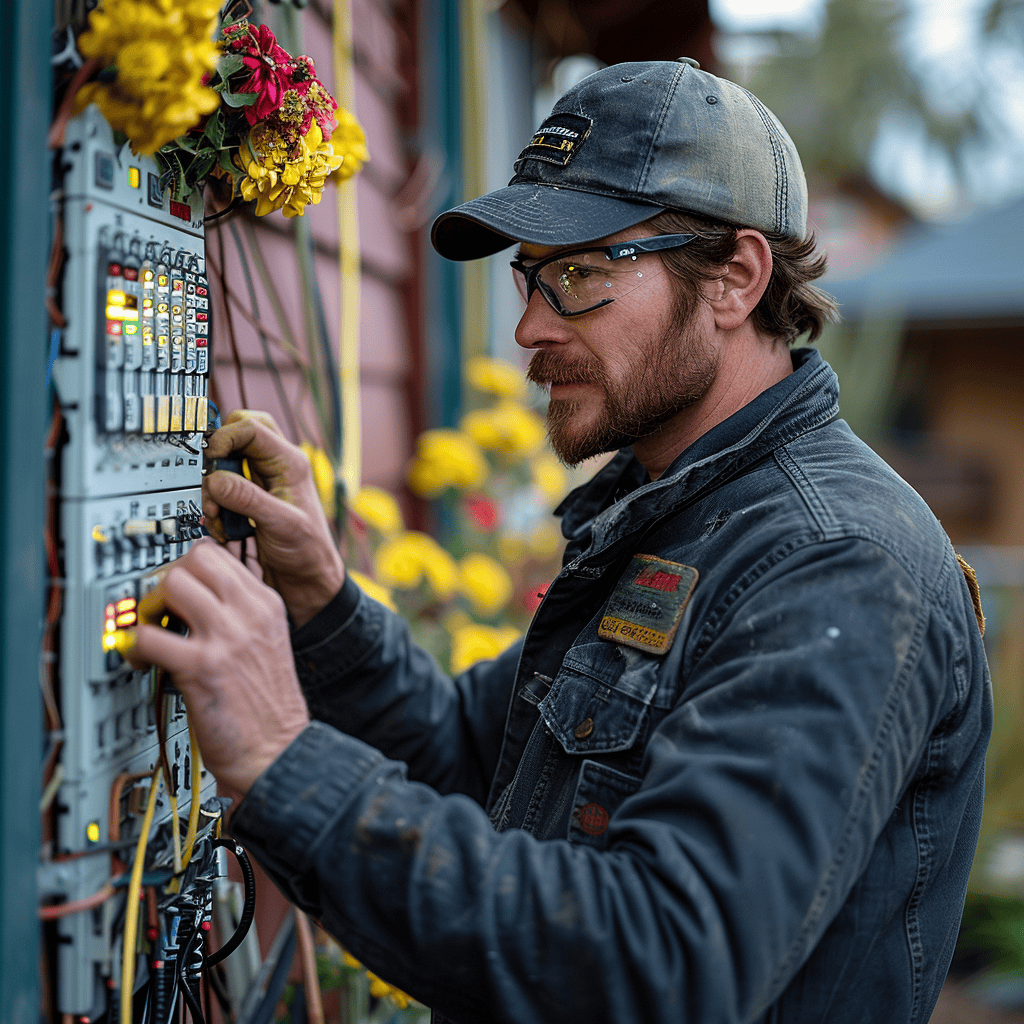
Using proper protective gear is essential when dealing with electrical systems. Insulated gloves protect your hands from electrical shocks by providing a barrier between you and the live wires. Insulated tools such as screwdrivers and pliers are designed to prevent electricity from traveling through the tool and into your body. Additionally, wearing safety glasses can protect your eyes from sparks or debris that might be dislodged while working on the wiring.

Area Check
Ensuring that the working area is dry is a crucial safety measure. Water is an excellent conductor of electricity, and working in wet conditions can increase the risk of electrical shock. Before starting any electrical work, check the area for any signs of moisture or leaks. If you find any, take steps to dry the area thoroughly and fix any leaks before proceeding with the electrical repairs.
Tools Required
Multimeter
A multimeter is an essential tool for diagnosing electrical issues. It can measure voltage, current, and resistance, providing valuable information about the circuit’s electrical characteristics. When looking for a short circuit, the multimeter’s continuity function is particularly useful. It helps you determine if there is a continuous path for current flow where there shouldn’t be one, indicating a short.
Circuit Tester
A circuit tester is a handy tool for quickly identifying live wires and faulty circuits. It can help you determine if an outlet or switch is receiving power, which is crucial for isolating the problem area. Circuit testers come in various forms, including plug-in testers for outlets and pen-style testers for testing wires and switches.
Wire Strippers
Wire strippers are used to remove the insulation from electrical wires without damaging the metal conductor inside. This tool is essential for making clean connections and repairs. Properly stripped wires ensure a secure and safe electrical connection, reducing the risk of short circuits and other electrical issues.

Screwdrivers and Pliers
Basic tools like screwdrivers and pliers are necessary for accessing and working with electrical components. Screwdrivers are used to remove outlet covers, switch plates, and to screw and unscrew wire connections. Pliers, on the other hand, are useful for twisting wires together, cutting wires, and holding components in place while you work.
Flashlight
A flashlight is indispensable for providing adequate illumination in dark or confined spaces. Many electrical components are located in basements, attics, or behind appliances where lighting is poor. A flashlight helps you see clearly, ensuring you don’t miss any signs of damage or improperly connected wires.
Step-by-Step Process on How to Find a Short in House Wiring
Turn Off Power
The first and most critical step in addressing a short circuit is to turn off the power to the affected circuit. Locate the circuit breaker or fuse box, switch off the breaker, or remove the fuse associated with the problematic circuit. Confirm that the power is off by using a non-contact voltage tester on the outlets and switches before proceeding. This precaution ensures that you won’t be exposed to live electrical current, reducing the risk of shock or injury.
Inspect Outlets and Switches
Remove the faceplates of outlets and switches to inspect for visible signs of damage. Look for burn marks, melted insulation, or loose connections. These signs often indicate where the short circuit might be located. Damaged components should be carefully noted and further tested to confirm the issue. Ensure you work methodically, checking each outlet and switch on the circuit.
Test Continuity
Check for continuity in the circuit using a multimeter set to the continuity mode. Begin by turning off the power at the breaker. Remove the outlet covers and disconnect the wires to prevent any accidental connections. Place one probe on the hot wire (typically black or red) and the other on the ground wire (bare or green). A reading close to zero ohms indicates a short circuit. This test helps you identify if the wiring is providing an unintended path for electrical current.
Check Wiring
Inspect the wiring inside outlets, switches, and junction boxes for frayed, damaged, or loose wires. Look for signs of wear, such as exposed metal or melted insulation. Pay attention to any areas where wires might be pinched or crimped, as these can cause shorts. Use a flashlight to ensure you thoroughly inspect all wiring, especially in tight or dark spaces.
Isolate the Problem
To isolate the faulty section of the circuit, disconnect sections of the wiring incrementally. Start from the breaker box and move towards the outlets and switches, testing each section with a multimeter as described earlier. This method helps you narrow down the location of the short. By isolating different sections, you can pinpoint the exact area where the fault lies, making it easier to address the issue.
Repair or Replace
Once the faulty section is identified, it’s time to repair or replace the damaged components. If the wiring is frayed or damaged, cut out the bad section and use wire nuts and electrical tape to make secure connections. Ensure that all repairs are done according to electrical code standards to maintain safety and functionality. Replace any faulty outlets, switches, or other components with new ones that meet current standards.
Troubleshooting Tips
Divide and Conquer
When faced with a complex wiring issue, break down the circuit into smaller sections. This approach, known as divide and conquer, allows you to systematically test and isolate different parts of the circuit. By narrowing down the problem area step-by-step, you can more efficiently identify and fix the short circuit.

Compare Circuits
If you have a similar, functioning circuit, use it as a reference to identify discrepancies. Comparing the problematic circuit with a working one can provide valuable clues about what might be wrong. Look for differences in wiring connections, component conditions, and continuity readings.
Document Findings
Keep detailed notes of your findings and the steps you’ve taken during the troubleshooting process. Documenting each step helps you keep track of what’s been checked and what needs further inspection. This record can be invaluable if you need to revisit the problem or seek professional help.
Professional Help
When to Call
Contact a licensed electrician if the short circuit is complex, persistent, or poses a significant risk. Professional electricians have the expertise and tools necessary to handle complicated electrical issues safely and effectively. Don’t hesitate to call for help if you’re unsure about any aspect of the repair process.
Cost Consideration
Understand the potential costs involved in hiring an electrician and get quotes from multiple professionals to ensure you’re getting a fair price. The cost can vary depending on the complexity of the job and the rates in your area. Discuss the scope of work and get a detailed estimate before proceeding.
Inspection Services
Some electricians offer inspection services to identify issues before they become serious problems. Regular inspections can help catch potential issues early, preventing shorts and other electrical problems. Investing in periodic inspections can save money and enhance safety in the long run.
Preventive Measures
Regular Inspections
Conduct regular inspections of your wiring and electrical components. Look for signs of wear and damage, such as frayed wires, loose connections, and burn marks. Early detection of issues allows for timely repairs, preventing more significant problems down the line.
Proper Installation
Ensure all electrical work is done according to local codes and standards. Proper installation practices are crucial for preventing shorts and other electrical issues. Hire qualified professionals for major electrical work and follow best practices for any DIY projects.
Avoid Overloading
Do not overload circuits with too many appliances or devices. Spread out electrical loads across multiple circuits to prevent overheating and potential shorts. Using high-demand appliances on dedicated circuits can help manage the load more effectively.
Use Quality Components
Invest in high-quality electrical components and devices. Quality parts are less likely to fail and cause shorts. Using components that meet or exceed industry standards ensures better performance and longevity.

