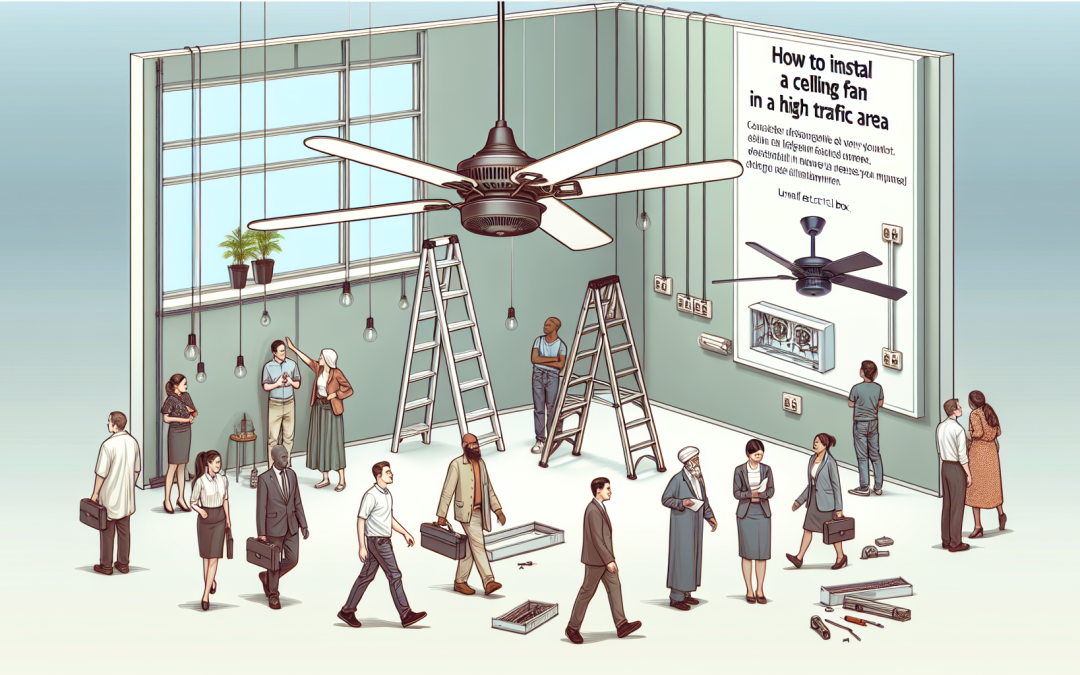
If you are looking to add a ceiling fan in a high traffic area of your home or office, you have come to the right place. Installing a ceiling fan can not only enhance the appearance of a room but also provide much-needed comfort and airflow. In this guide, we will walk you through the step-by-step process of installing a ceiling fan in a high traffic area.
Gather the Necessary Tools and Materials
Before you begin the installation process, it is essential to gather all the necessary tools and materials. Here is a list of items you will typically need:
- Ceiling fan
- Ladder or stepladder
- Screwdriver
- Wire stripper
- Wire cutter
- Adjustable wrench
- Electrical tester
- Electrical tape
- Wire connectors
- Mounting bracket and screws
Make sure you have all these items readily available before you start the installation process to avoid any unnecessary delays.
Turn Off Power
Before working with any electrical components, it is crucial to turn off the power to the room where you will be installing the ceiling fan. Locate the circuit breaker for that room and switch it off. To ensure your safety, use an electrical tester to verify that the power is indeed off.
Remove Existing Fixture
If there is an existing light fixture or fan in the area where you want to install your new ceiling fan, you will need to remove it. Start by removing the screws or nuts that hold the fixture in place. Carefully disconnect any wiring and set the old fixture aside.
Prepare the Ceiling
Once the old fixture is removed, you may need to make some adjustments to the ceiling to accommodate the new ceiling fan. If the existing electrical box is not suitable for the fan, you will need to replace it with a fan-rated box. Secure the new box to the ceiling joist using screws or other appropriate fasteners.
Assemble the Ceiling Fan
Next, refer to the manufacturer’s instructions to assemble your ceiling fan. Start by attaching the fan blades to the motor housing using the provided screws. Make sure each blade is securely attached and balanced.
Once the blades are in place, attach the fan’s downrod to the motor housing. Secure it tightly using the provided screws or bolts. If your ceiling height allows for it, you can also choose to install the fan without the downrod for a flush-mount look.
Connect the Wiring
With the fan fully assembled, it’s time to connect the wiring. Carefully thread the fan’s wires through the downrod or canopy cover. Match the wires from the fan to the corresponding wires in the electrical box. Typically, you will need to connect the following wires:
- Black (or blue) wire from the fan to the black wire from the electrical box
- White wire from the fan to the white wire from the electrical box
- Green (or bare copper) wire from the fan to the ground wire from the electrical box
Use wire connectors to secure the connections, and wrap them with electrical tape for added safety.
Attach the Fan to the Ceiling
Once the wiring is complete, carefully lift the fan and align the mounting bracket with the screws in the electrical box. Secure the bracket to the electrical box using the provided screws. Make sure the fan is securely attached to the ceiling.
Install Blades and Finish
Finally, attach the fan blades to the motor housing by lining up the holes and inserting the blade screws. Tighten them securely, but be careful not to over-tighten. Finish the installation by installing any additional accessories, such as a light kit or remote control, as per the manufacturer’s instructions.
Now that your ceiling fan is properly installed, turn on the power and test the fan to ensure it is functioning correctly. Enjoy the cool breeze and improved air circulation in your high traffic area!
For professional assistance with ceiling fan installation or any other electrical services, please don’t hesitate to contact Phase Electric. They provide expert electrician services and specialize in ceiling fan and exhaust fan installation.